Mainsail Trim
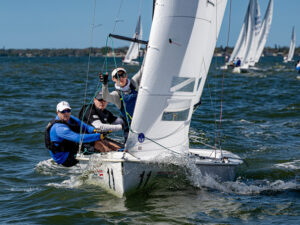
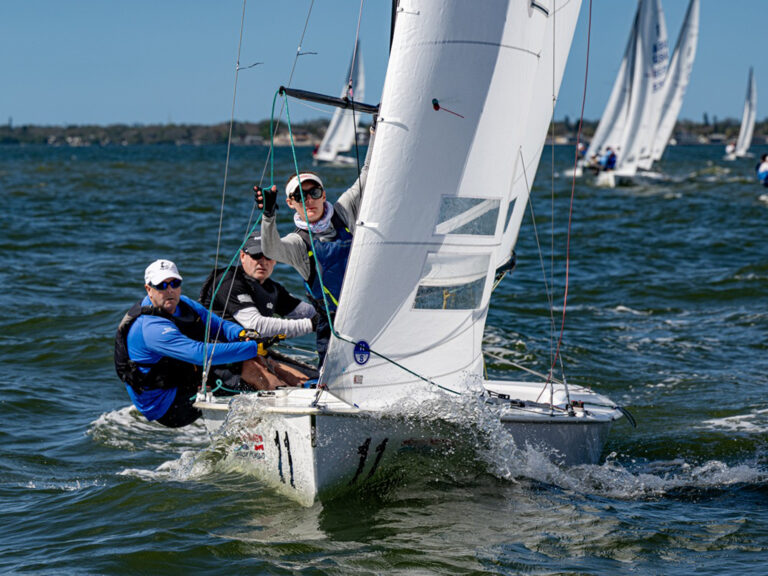
As part of my new role at North Sails heading up Operations for Class Sail Development (CSD), we have developed North Sails Client Services (NSCS). Our goal is to help one-design sailors better understand their sail trim using the one simple tool that everyone has access to: a digital camera. Our mission at CSD is to get out on the water at major one-design class events, document what top teams are doing with their sail trim, and then share the images (and video clips) with everyone at post-racing slideshows and informal debriefs.
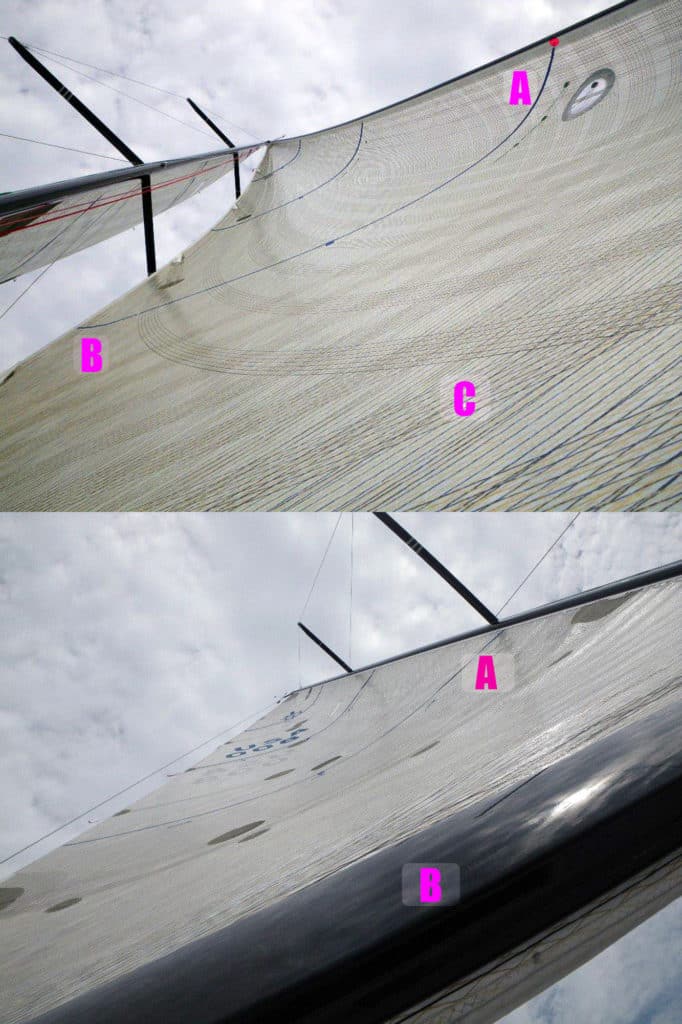
From off the boat, a picture will tell us everything we need to know about your sail trim, and the same is true if you you take your own onboard photos (you do, right?). The key to being able to make use of onboard sail-trim photos, however, is to take the photo correctly in the first place. With years of snapping photos up the mid-girths of many a sail, we’ve learned how to do it right. Let’s first cover a few important starter tips.
- Don’t take a picture in bright sun at noon. Direct sunlight onto the sail makes it impossible to pick out the draft stripes.
- Make sure your sails have draft stripes at all three one-quarter points, and are consistent from sail to sail.
- Take pictures on the tack where the windward side of the picture is in the shadow.
- Do shoot two sequential photos. If one is somehow out of whack, or blurry, the next may be fine.
- When shooting two pictures with different settings (such as outhaul adjusted, jib halyard changed, etc.) shoot a picture of that adjustment so you know what you have done in sequence.
- If your camera has the capability to record audio notes at the same time (as some advanced cameras can), you can add extra information as you’re taking the picture.
Editor’s Note: Chuck Allen and the CSD team will host a special sail-trim debrief at the Sperry Top-Sider St. Petersburg NOOD Regatta, after racing on Friday, Feb. 15 (second floor inside the St. Petersburg YC). Open to all competitors.

